
Capturing stunning real estate photos can be the key to attracting potential buyers and closing deals faster. You want your listings to stand out, and HDR photography might just be your secret weapon.
Imagine photos so vivid and detailed that they make viewers feel like they’re standing right inside the property. You can achieve this with HDR techniques, transforming ordinary shots into breathtaking images. In this guide, you’ll discover simple steps to master HDR real estate photography.
Whether you’re a seasoned photographer or just starting out, you’ll learn how to make your listings shine like never before. Ready to elevate your photography game and captivate your audience? Let’s dive in.
Essential Equipment For Hdr Photography
A good camera is important for HDR photos. Look for a camera with manual settings. This lets you control the light. DSLR and mirrorless cameras are great options. They help capture every detail. Make sure the camera can take RAW images. RAW images keep more detail than JPEGs.
A sturdy tripod is a must. It keeps the camera still. Stable shots are key for HDR photos. Without movement, images align better. Tripods prevent blurry pictures. For extra stability, use a camera stabilizer. They help when the ground is uneven.
Choose a lens with a wide-angle. It captures more of the room. Wide lenses show the full space. 18-55mm lenses are common. They are good for real estate. A prime lens is another choice. Prime lenses have fixed focal lengths. They often have better image quality.

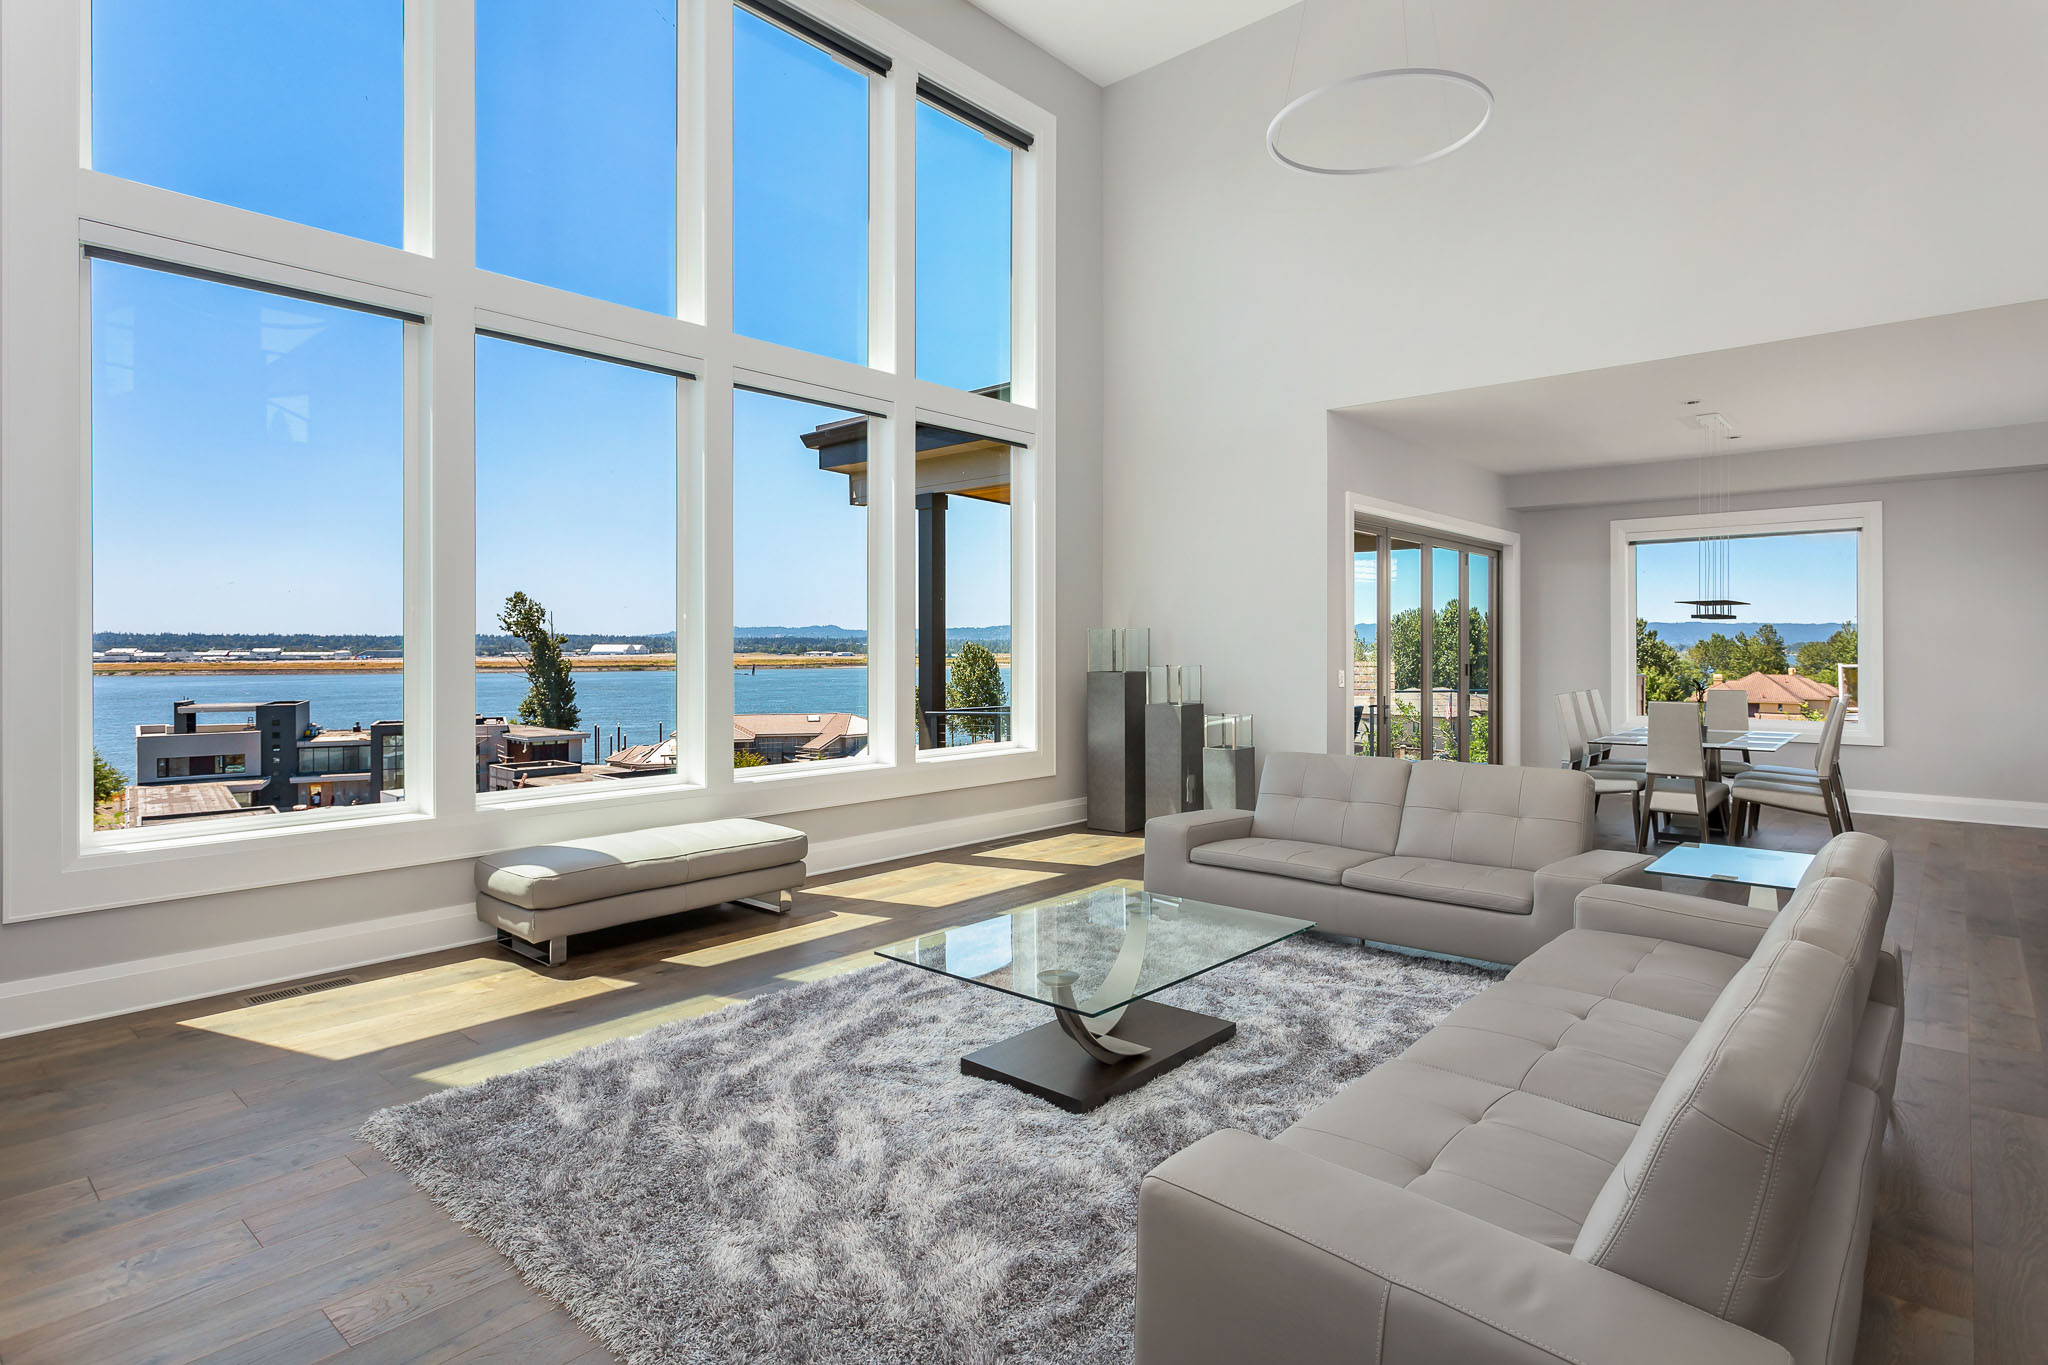
Credit: www.photoup.net
Mastering Hdr Techniques
Capture stunning real estate photos by mastering HDR techniques. Enhance details in both bright and dark areas effortlessly. Create images that truly showcase properties in their best light.
Understanding Exposure Bracketing
Exposure bracketing means taking several photos at different brightness levels. This helps in capturing every detail, bright and dark. One photo will be bright, another dark, and one just right. Later, these photos are combined to make one perfect image. This ensures the house looks great in every light.
Setting Up For Optimal Lighting
Good lighting is key for real estate photos. Open all curtains and turn on lights inside the house. This makes the rooms look brighter. Avoid shooting against the sun. This can make the photo too bright. Midday light is often best. It gives a clear view without harsh shadows.
Balancing Shadows And Highlights
Balancing shadows and highlights is important in HDR. Shadows should not be too dark. Highlights should not be too bright. This balance makes the photo look real. Use editing tools to adjust these areas. Fine-tuning helps in showing the property’s true beauty. This makes the photo appealing to buyers.
Preparing The Property
Make rooms look nice and neat. Arrange furniture in a friendly way. Use simple decor to add charm. Avoid clutter on tables and shelves. A clean space makes photos better. Keep items like toys and shoes out of sight. Buyers want to see the space, not personal items.
Clean every corner of the home. Wipe windows and floors to shine. Dust furniture and shelves. Make sure bathrooms and kitchens sparkle. Fresh scents help too. No one likes messy rooms in photos. Keep the place tidy and organized.
Open all curtains and blinds. Let the sunlight in. Natural light makes rooms look bright. Turn off indoor lights during the day. Shadows can look strange in photos. Choose the best time of day for light. Usually, mornings and late afternoons are good.
Shooting Hdr Photos
Early mornings or late afternoons are best for HDR photos. The sun is softer then. This light helps capture both shadows and highlights. Midday sun is too bright. It creates harsh shadows and bright spots. Soft light makes photos look balanced.
Set the camera to manual mode. This gives full control. Adjust the ISO to keep noise low. Aperture should be set to a medium value. This keeps more of the scene in focus. Use a tripod for stability. It helps avoid blurry images.
Capture at least three exposures. One should be underexposed. Another should be overexposed. The last should be normal. These images combine later. This captures all details. Each exposure shows different light levels.
Post-processing Hdr Images
Software Options for HDR Editing are many. Popular choices include Adobe Lightroom and Photomatix. These tools help create stunning HDR photos. They blend multiple exposures beautifully. Both beginners and pros use them.
Combining Exposures is key in HDR photography. Merge photos with different brightness. This captures all details. Shadows and highlights come together. The result is a balanced image.
Enhancing Image Quality makes photos stand out. Adjust brightness and contrast. Boost colors for a vivid look. Use noise reduction for a clean photo. Sharpen details for clarity. Each step improves the final image.

Credit: petapixel.com
Common Mistakes And How To Avoid Them
HDR images can look unnatural if overprocessed. Too much editing causes colors to appear fake. Keep colors and details subtle. Use software settings carefully. Aim for natural and realistic photos. This approach highlights property features without exaggeration.
Good lighting is key for great photos. Avoid shooting on cloudy days. Bright daylight is best for clear images. Natural light enhances colors and details. Open curtains and turn on lights inside. This simple step makes a big difference.
Blurry photos happen without a tripod. HDR photography needs a steady hand. A tripod keeps the camera still. It helps capture sharp and clear images. Tripods are easy to use and affordable. They are essential for professional results.
Professional Tips For Stunning Results
Natural light creates soft and warm images. Use mornings or evenings for the best light. Artificial lights help fill dark areas. Mix both for balanced photos. Always check the lights before clicking.
Try different angles to make rooms look big. Shoot from corners or low positions. This shows the room’s full size. Creative angles add interest and make photos stand out.
Consistent images tell a clear story. Use the same camera settings for all photos. This keeps colors and brightness even. It helps the pictures look like they belong together.
Credit: www.slrlounge.com
Frequently Asked Questions
What Is Hdr In Real Estate Photography?
HDR stands for High Dynamic Range. It’s a technique that combines multiple exposures to enhance photo details. This results in a balanced image with well-lit interiors and exteriors. HDR photography is ideal for showcasing properties, as it captures both bright and dark areas effectively.
How Do I Take Hdr Real Estate Photos?
To take HDR photos, use a camera with bracketing capability. Capture multiple exposures of the same scene. Use software to merge them into one image. Adjust settings for optimal brightness and contrast. Ensure proper lighting and stability for best results.
Why Use Hdr For Real Estate Photos?
HDR is used to capture detailed and realistic property images. It highlights both indoor and outdoor features. This attracts potential buyers by offering a true representation of the property. HDR images are more appealing and professional than standard photos.
Which Equipment Is Best For Hdr Photography?
A DSLR or mirrorless camera with bracketing features is ideal. Use a sturdy tripod for stability. Wide-angle lenses are great for capturing large spaces. Post-processing software like Adobe Lightroom can enhance HDR effects. Proper equipment ensures high-quality images.
Conclusion
Capturing HDR real estate photos enhances property appeal. It reveals stunning details. Use a tripod for stability. Adjust exposure for balance. Merge images for depth and clarity. Practice makes perfect. Experiment with angles and lighting. A good photo attracts buyers.
It tells a story without words. Invest time in learning. The results will impress. Remember, patience is key. With these tips, your photos will shine. Real estate photography can be rewarding. Keep clicking and improving. Success is within reach.