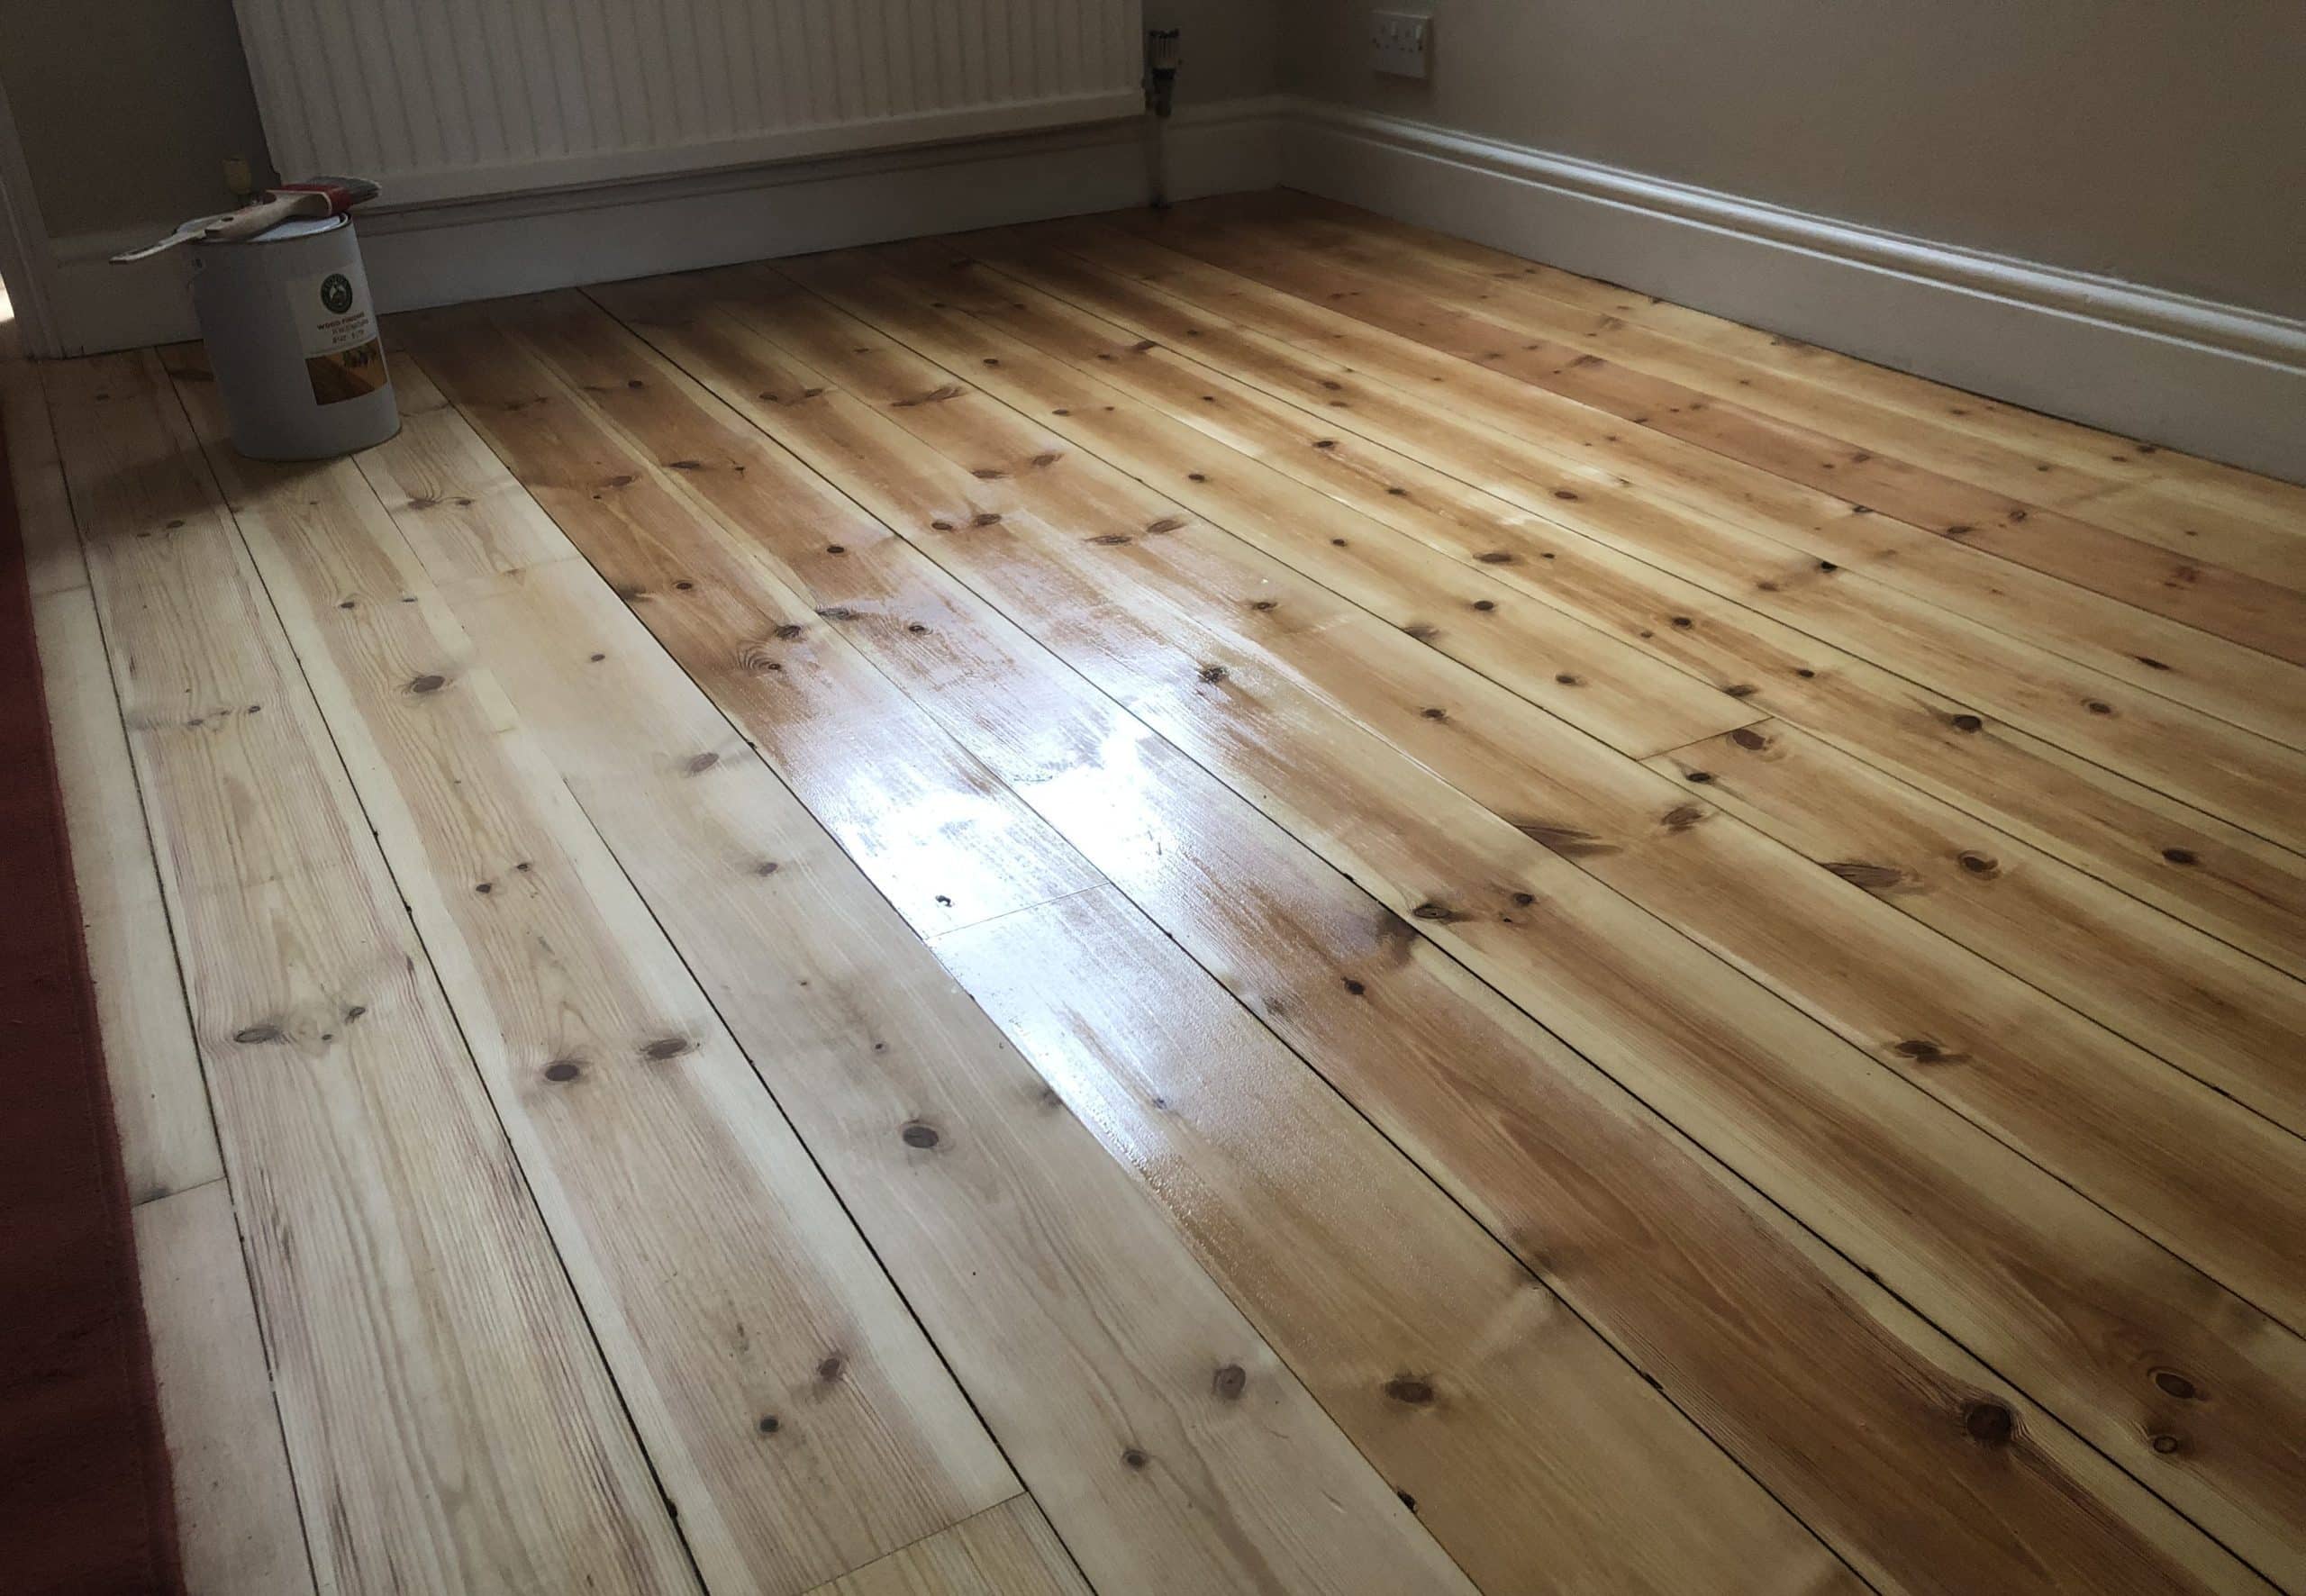
Restoring old floorboards can transform your home, adding character and warmth to any room. Whether you’ve uncovered original timber flooring in a Victorian terrace or want to revive tired boards in a more modern home, restoring floorboards can be a rewarding DIY project. Here’s how to restore old floorboards, step by step, ensuring a beautiful finish that will last for years.
1. Assess the Condition of Your Floorboards
Before you start, assess the condition of your floorboards. Look for signs of damage, such as rot, deep scratches, or loose boards. If any boards are too damaged, you may need to replace them. Ensure that nails are securely in place, as loose nails can cause squeaking and instability.

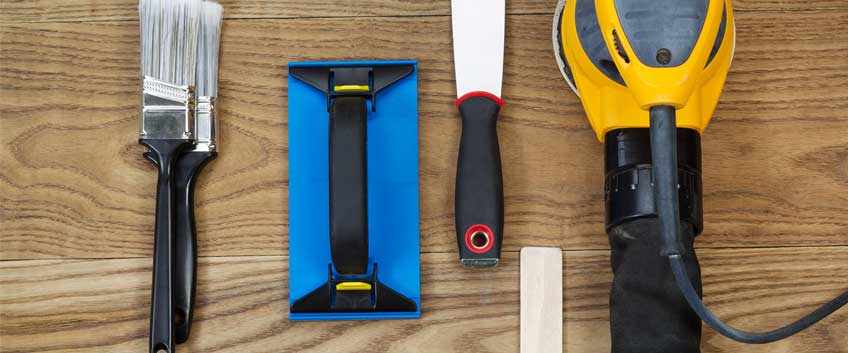
2. Gather Your Tools and Materials
To restore your floorboards, you’ll need the following tools and materials:
- Hammer and nail punch
- Sandpaper (coarse, medium, and fine grit)
- Floor sander and edge sander
- Wood filler
- Stain or wood dye (optional)
- Varnish, oil, or wax for finishing
- Dust mask, goggles, and ear protection
3. Prepare the Room
Clear the room of all furniture and cover any doorways with dust sheets to contain the mess. Make sure to remove any old carpet, underlay, or tacks. If your floorboards have gaps between them, consider filling these gaps with wood filler or slivers of wood before sanding.
4. Sand the Floorboards
Sanding is the most crucial part of restoring old floorboards. Start with a coarse-grit sandpaper to remove old paint, varnish, or dirt. Use a floor sander for the larger areas and an edge sander for corners and edges. Sand in the direction of the grain to avoid scratching the wood.
Once the old finish is removed, switch to a medium-grit sandpaper for a smoother surface, and finish with a fine-grit sandpaper for a polished look. Ensure the floor is thoroughly sanded and smooth before moving on to the next step.
5. Clean Up the Dust
Sanding creates a lot of dust, so it’s essential to clean up thoroughly before applying any finish. Use a vacuum cleaner to remove dust from the floor, then wipe it down with a damp cloth. Make sure the floor is completely dry before proceeding.
6. Apply Wood Filler (If Needed)
If your floorboards have any cracks, holes, or imperfections, now is the time to fill them. Use a wood filler that matches the colour of your floorboards. Apply the filler with a putty knife and smooth it out. Once dry, sand the filled areas lightly to ensure a seamless finish.
7. Stain or Dye the Floorboards (Optional)
If you want to change the colour of your floorboards, now is the time to apply a stain or wood dye. Test the stain on a small, inconspicuous area first to ensure you’re happy with the colour. Apply the stain evenly with a brush or cloth, following the wood grain. Allow it to dry completely before applying the finish.
8. Choose Your Finish: Varnish, Oil, or Wax
The finish you choose will determine the look and durability of your restored floorboards. Here are the most common options:
- Varnish: Provides a hard, protective finish that is ideal for high-traffic areas. It comes in different sheens, from matte to high gloss.
- Oil: Enhances the natural beauty of the wood while providing a durable finish. It penetrates the wood, making it resistant to water and stains.
- Wax: Gives a soft, natural finish but requires regular maintenance. It’s best for low-traffic areas and can be easily reapplied.
Apply the finish with a brush or roller, working in the direction of the grain. Follow the manufacturer’s instructions for drying times and the number of coats required. For varnish or oil, you may need to sand lightly between coats for the best finish.
9. Allow the Floor to Cure
Once the final coat of finish is applied, allow the floor to cure for the recommended time. This may take a few days, depending on the product used. Avoid placing heavy furniture on the floor until it’s fully cured.
10. Enjoy Your Restored Floorboards
After all your hard work, it’s time to enjoy your beautifully restored floorboards. Not only will they add charm and character to your home, but they will also be a durable and timeless feature for years to come.
Final Thoughts
Restoring old floorboards in a UK home can be a satisfying DIY project that adds value and beauty to your property. By following these steps and taking your time, you can achieve a professional-looking finish that brings out the natural character of the wood. Whether you prefer the classic look of varnished boards or the rustic charm of an oiled finish, your restored floorboards will be a stunning focal point in any room.
